
In the dynamic world of software development, ensuring code quality is paramount. Enter the SonarQube API, a powerful tool that not only scrutinizes code for potential pitfalls but also seamlessly integrates with various platforms to enhance the development process. But how does one harness its full potential?
This article delves deep into the intricacies of the SonarQube API, demystifying its functionalities and showcasing practical examples. Whether you’re a seasoned developer or just starting out, our hands-on examples will provide a clear roadmap to elevate your coding game. Let’s get started…
Table of Contents
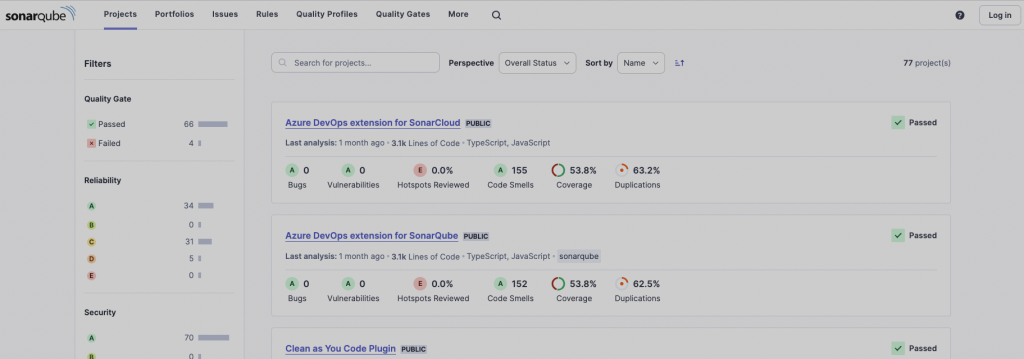
What is the SonarQube API?
When you first hear about the API, you might think, “Oh, just another API.” But hold that thought! This API is a gateway, a bridge that connects you to the myriad functionalities SonarQube offers. Whether you’re looking to automate tasks, fetch data, or integrate with other tools, this API is your trusty sidekick.
Now, let’s talk tech for a moment. The API is RESTful. For the uninitiated, this means:
- Uniformity: Every part of the API adheres to specific standards, making it predictable.
- Statelessness: Each request from a client contains all the information needed to process it.
- Client-Server Architecture: The client and server are independent, allowing each to evolve separately.
In essence, the RESTful nature of the API ensures it’s not just powerful but also flexible and developer-friendly. So, whether you’re a seasoned developer or just dipping your toes, this API promises a smooth sail.
Tapping into SonarQube API’s Potential
The SonarQube API is a versatile capability that allows developers to access and interact with SonarQube’s functionalities programmatically. With the API, you can:
- Automate Analysis: Trigger code analyses automatically, making it easier to integrate with CI/CD pipelines.
- Fetch Metrics: Retrieve detailed metrics about your code quality, including issues, code smells, vulnerabilities, and coverage.
- Manage Projects: Create, update, or delete projects within SonarQube.
- User Management: Handle user accounts, groups, and permissions to control access and roles.
- Integrate with Other Tools: Seamlessly connect SonarQube with other platforms and tools in your development ecosystem.
- Customize Dashboards: Programmatically adjust and customize your SonarQube dashboards to display relevant metrics.
- Handle Issues: Fetch, manage, and update issues detected by SonarQube.
- Manage Quality Gates: Set, update, and monitor quality gate conditions to ensure code meets the desired standards.
In essence, the API provides a comprehensive interface to tap into SonarQube’s rich features, enabling automation, integration, and enhanced control over the code quality process.
How to Use Python and the SonarQube API
The python-sonarqube-api library serves as an efficient interface for developers aiming to interact with the SonarQube platform using Python. This library abstracts the complexities of direct API calls, providing a more streamlined and Pythonic approach to accessing SonarQube’s functionalities.
Installation:
Before utilizing the library, it must be installed. This can be achieved using Python’s package manager, pip:
pip install python-sonarqube-apiConfiguration:
Once installed, the next step is to configure the connection to your SonarQube instance. This involves specifying the SonarQube URL and, for secure interactions, an API token.
from sonarqube import SonarQubeClient

sq = SonarQubeClient(sonarqube_url="YOUR_SONARQUBE_URL", token="YOUR_API_TOKEN")
Replace YOUR_SONARQUBE_URL with the URL of your SonarQube instance and YOUR_API_TOKEN with the generated token from your SonarQube dashboard.
Usage:
With the connection established, you can now leverage the library’s methods to interact with SonarQube. For instance, to fetch details of all projects:
project_details = sq.projects.search_projects()
print(project_details)Example:
Let’s consider a simple use case where we aim to retrieve and print the metrics of a specific project:
project_key = "YOUR_PROJECT_KEY"
metrics = ["ncloc", "bugs", "vulnerabilities"]

project_metrics = sq.measures.component(project=project_key, metricKeys=metrics)
for metric in project_metrics['component']['measures']:
    print(f"{metric['metric']}: {metric['value']}")
Replace YOUR_PROJECT_KEY with the key of your desired project. This script will output the number of lines of code, bugs, and vulnerabilities for the specified project.
In conclusion, the python sonarqube api library offers a robust and intuitive way to interact with SonarQube. By abstracting the intricacies of API calls, it allows developers to focus on their primary tasks, ensuring efficient and effective code quality management.
How to Use Java and the SonarQube API

The SonarQube platform provides a comprehensive API that can be accessed using various programming languages, including Java. For Java developers, the sonar-ws library is the primary tool to interact with the API.
Installation:
To begin, you need to include the sonar-ws library in your project. If you’re using Maven, add the following dependency to your pom.xml:
<dependency>
    <groupId>org.sonarsource.sonarqube</groupId>
    <artifactId>sonar-ws</artifactId>
    <version>YOUR_VERSION</version>
</dependency>
Replace YOUR_VERSION with the desired version of the library.
Configuration:
Once the library is integrated, establish a connection to your SonarQube instance. This involves setting up a HttpConnector and a WsClient.
import org.sonarqube.ws.client.HttpConnector;
import org.sonarqube.ws.client.WsClient;
import org.sonarqube.ws.client.WsClientFactories;

HttpConnector httpConnector = HttpConnector.newBuilder()
    .url("YOUR_SONARQUBE_URL")
    .token("YOUR_API_TOKEN")
    .build();

WsClient wsClient = WsClientFactories.getDefault().newClient(httpConnector);
Replace YOUR_SONARQUBE_URL with your SonarQube URL and YOUR_API_TOKEN with your generated API token.
Usage:
With the connection in place, you can now use the WsClient to make requests to the API. For instance, to fetch details of all projects:
import org.sonarqube.ws.Components;

Components.SearchProjectsWsResponse response = wsClient.components().searchProjects();
for (Components.Component project : response.getComponentsList()) {
    System.out.println(project.getName());
}Example:
Consider a scenario where you wish to retrieve and display the quality gate status of a specific project:
import org.sonarqube.ws.Qualitygates;

String projectKey = "YOUR_PROJECT_KEY";
Qualitygates.ProjectStatusResponse response = wsClient.qualitygates().projectStatus(projectKey);
System.out.println("Quality Gate Status: " + response.getProjectStatus().getStatus());
Replace YOUR_PROJECT_KEY with the key of your project.
In summary, the sonar-ws library offers Java developers a structured and efficient way to interact with the API. By leveraging this library, one can seamlessly integrate SonarQube’s functionalities into Java applications, ensuring robust code quality management.
Generating and Using the SonarQube API Token
Obtaining an API token is an essential step for developers and administrators who wish to interact programmatically with the SonarQube platform. The API token serves as a secure means of authentication, allowing users to perform various operations without exposing their actual credentials. Here’s a step-by-step guide on how to generate an API token:
1. Log in to SonarQube:
Begin by accessing your SonarQube instance through a web browser. Ensure you have the necessary permissions, as generating an API token typically requires administrative or project-level privileges.
2. Access Your Profile:
Once logged in, locate and click on your avatar or username, usually found in the top right corner of the dashboard. From the dropdown menu, select “My Account.”
3. Navigate to the Security Tab:
Within the “My Account” section, you’ll find several tabs. Click on the “Security” tab. This section is dedicated to managing API tokens.
4. Generate a New Token:
You’ll see an input field labeled “Generate Tokens.” Enter a descriptive name for your token. This name is for your reference, helping you identify the purpose or application of the token in the future. After naming it, click on the “Generate” button.
5. Store Safely:
Upon generation, your new API token will be displayed. It’s crucial to copy and store this token securely, as it won’t be shown again for security reasons. Treat it like a password.
6. Manage Existing Tokens:
The “Security” tab also lists all your existing tokens. You can revoke any token if needed, ensuring it can no longer be used for authentication.
In conclusion, the API token provides a secure and efficient way to interact with the platform programmatically. Always handle tokens with care, ensuring they’re not exposed or shared inappropriately.
FAQs
What is the SonarQube API?
The SonarQube API is a set of web services that allows developers to interact programmatically with SonarQube functionalities, enabling automation, data retrieval, and integration with other tools.
How do I access the SonarQube API?
You can access the API using various programming languages or tools that support HTTP requests. Ensure you have the necessary authentication, typically an API token, for secure access.
Is the SonarQube API free to use?
While SonarQube offers a free Community Edition, some advanced API features might be available only in the paid editions.
Can I manage users and permissions via the API?
Yes, the SonarQube API provides endpoints to manage users, groups, and permissions.
How do I ensure the security of my API interactions?
Always use API tokens for authentication, avoid exposing your token, and consider using HTTPS for encrypted communication.