
Today, I’m going to share a step-by-step tutorial on how to trim the end of a video using iMovie. Whether you’re making a short film, an explainer video, or just editing a clip for social media, you may need to trim your footage. iMovie, Apple’s free video editing software, is an excellent tool for this purpose.
iMovie offers a variety of editing features, including video trimming. This function allows you to shorten your video, cut out unnecessary scenes, or make your video fit within a specific time frame. A bit of history regarding iMovie.
Over the years, iMovie has seen many updates and redesigns. In 2002, iMovie 2 was introduced as part of the first iLife suite, a software bundle for managing digital media. iMovie 3, released in 2003, added the Ken Burns effect — a popular panning and zooming effect used in documentary filmmaking.
A significant overhaul came with iMovie ’08, which boasted a new interface and integrated with the rest of the iLife suite and .Mac services. However, this version received mixed reviews due to the removal of some beloved features. Apple responded to the criticism by offering iMovie HD 6 (a previous version) as a free download alongside iMovie ’08.
In subsequent years, iMovie continued to evolve. The current version, as of my knowledge cutoff in September 2021, is iMovie 10.2.4, released in August 2021. The software now includes features like green-screen effects, soundtracks, and advanced video editing tools, reflecting the growing sophistication of consumer-grade video production.
Without further ado, let’s dive right in!
How to Trim Video in iMovie
Step 1: Open iMovie
First things first, you need to open the iMovie application. You can do this by clicking on the iMovie icon in your Mac’s Dock or by opening your Applications folder and selecting iMovie from the list of apps. If you can’t find it or haven’t installed it yet, you can download iMovie from the App Store.
Step 2: Create a New Project

Once you’ve launched iMovie, the next step is to start a new project. Click on the “Create New” button, then select “Movie”. This will open a new project window.
Step 3: Import Your Video
To trim a video, you obviously need a video to trim. Click the downward arrow in the upper-left corner of the screen or click “File” in the menu bar, then “Import Media”. This will open a window where you can browse your files and select the video you wish to edit. Once you’ve found your video, select it and click the “Import Selected” button. The video will then appear in the “My Media” section of iMovie.
Step 4: Add the Video to the Timeline
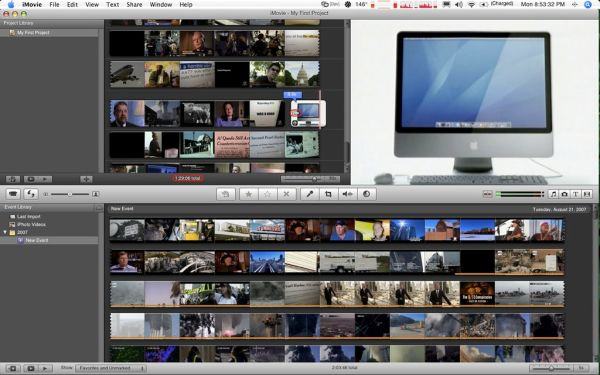
Now, drag and drop the video from the “My Media” section to the timeline at the bottom of the iMovie window. This timeline represents your video project and it’s where you’ll do all of your editing work.
Step 5: Trim the End of Your Video
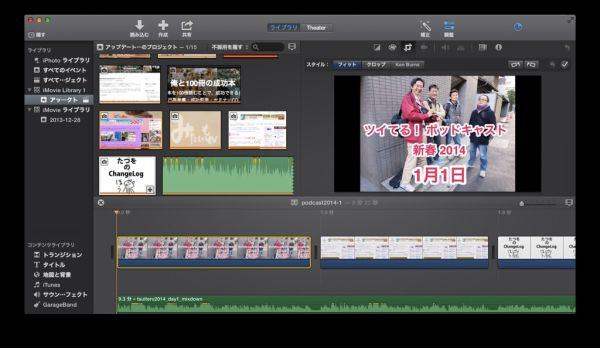
Here’s where the trimming magic happens. To trim the end of your video, move your cursor to the end of the video clip in the timeline. Your cursor will change to a two-sided arrow. Click and drag the arrow to the left to trim the video. The preview window in the top-right corner of the screen will show you exactly where your video will end.
Step 6: Preview Your Changes
Once you’ve trimmed your video, it’s a good idea to preview your changes. Move the playhead (the white vertical line in the timeline) to the start of your video and press the space bar to play the video. Make sure the end of your video is trimmed the way you want.
Step 7: Save Your Edited Video
Happy with your edited video? It’s time to save it. Click on “File” in the menu bar, then “Share”, and finally “File…”. You can then choose the resolution, quality, and compression settings for your video, as well as its title, description, and tags. Click “Next…”, choose where you want to save your video, then click “Save”. iMovie will then export your trimmed video.
And there you have it! You’ve successfully trimmed the end of a video using iMovie. This is just the tip of the iceberg in terms of iMovie’s capabilities. This user-friendly software also allows you to add transitions, text, and effects, and to adjust the color, brightness, and sound of your videos. Now that you know how to trim a video, why not explore what else you can do with iMovie?
Dive Deeper into iMovie
Now that you have successfully trimmed your video, you might want to explore more advanced features in iMovie. For instance, you can try:
- Adding Transitions: Transitions help to smoothly switch from one clip to another. To add a transition, go to the “Transitions” tab in the iMovie browser, and drag your chosen transition between two clips on the timeline.
- Adding Text: You can also add text or titles to your video. Click on the “Titles” tab in the iMovie browser, choose a style you like, and drag it to the timeline where you want the text to appear.
- Adding Music or Sound Effects: To add a soundtrack or sound effects to your video, go to the “Audio” tab in the iMovie browser. You can then browse and select audio files from your iTunes library, GarageBand, or the sound effects that come with iMovie.
Share Your Creation
Lastly, don’t forget to share your creation with the world! You can easily upload your video to platforms like YouTube, Facebook, or Vimeo directly from iMovie. Simply click on the “File” menu, select “Share”, and choose your preferred platform.
Whether you’re a budding filmmaker or simply someone who loves to capture life’s moments, mastering the art of video editing is a great skill to have. With iMovie, it’s easier than ever to make your videos look professional and polished.