This article will show you how to install Windows 7 within VMware Workstation 7.0. This latest release from VMware was unveiled a couple weeks ago that added support for Windows 7, Aero Glass, performance improvements, and much more. Now, lets cut to the chase and get started!
To Install Windows 7 inside of VMware Workstation 7.0
Download & Install the free 30-day trial of VMware Workstation 7.0
Insert the Windows 7 install DVD into your drive
Run VMware Workstation 7.0 from the Start menu
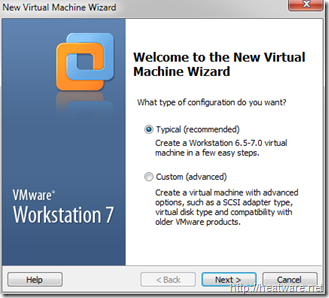
Choose Typical and click Next
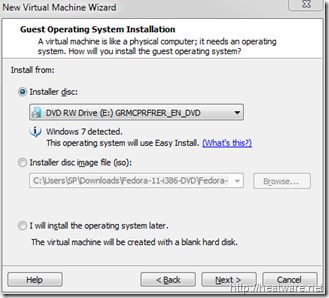
Choose the option Installer Disc and ensure that the optical drive that has the Windows 7 installation DVD is selected.
Note: If you have Windows 7 as an ISO image, choose the option labeled: Installed disc image file (iso)
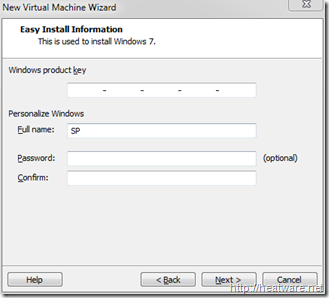
A convenient new feature is the ability to specify your Windows 7 product key prior to starting the installation to allow for a fully-unattended install. No more coming back to your computer an hour later after you think the installation finished only to find it stuck on a screen asking for a serial number!
Go ahead and enter your Windows product key and Full name. The password is optional. Click Next.
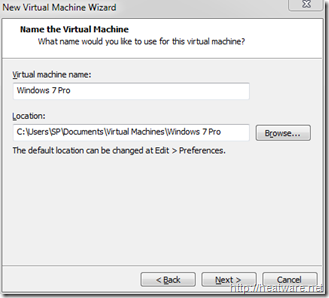
Now it is time to name the virtual machine and choose the location. We will keep the default location and name the VM Windows 7 Pro
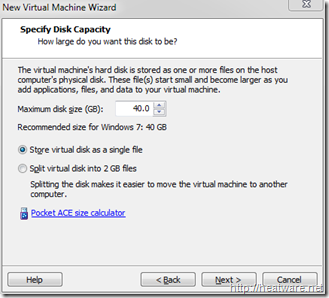
VMware needs to know how hard drive space to allocate to the Windows 7 disk. Lets stick with the 40.0 GB default and click Next.
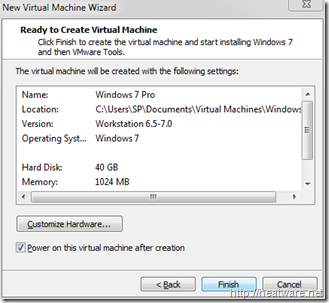
Now you will be presented with a summary screen that shows all the VM configuration parameters. Don’t worry, you can change most of these at any time! Click Finish to begin the installation!
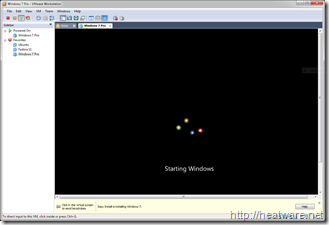
The virtual machine will now boot up and load the Windows 7 installer from the DVD. If you need to step away from the computer, go ahead, no more user-intervention is needed. But if you would like to stick around and read the rest of this post, I don’t mind 🙂
The installer will now copy files… This will take a while…
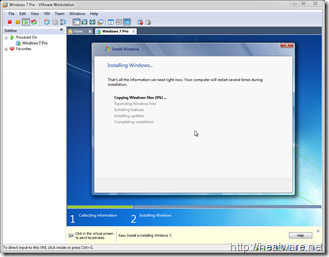
Your system will reboot…
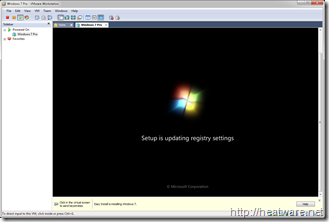
And continue installing…
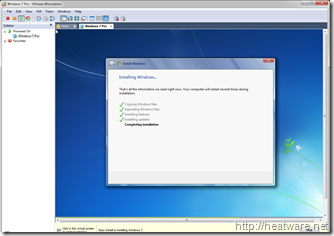
And about 30 minutes later, its all done!
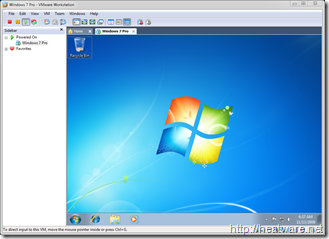
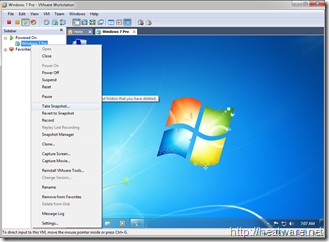
Now is a great time to save the state of your VM by taking a snapshot. This way, if you shut down VMware, you don’t have to start all over again! Right click on Windows 7 Pro in the left panel and choose Take Snapshot
Enjoy your Windows 7 VM!


I’m pretty much impressed with the stability of Windows 7. It is better than windows Vista which hogs my memory and cpu.-.: